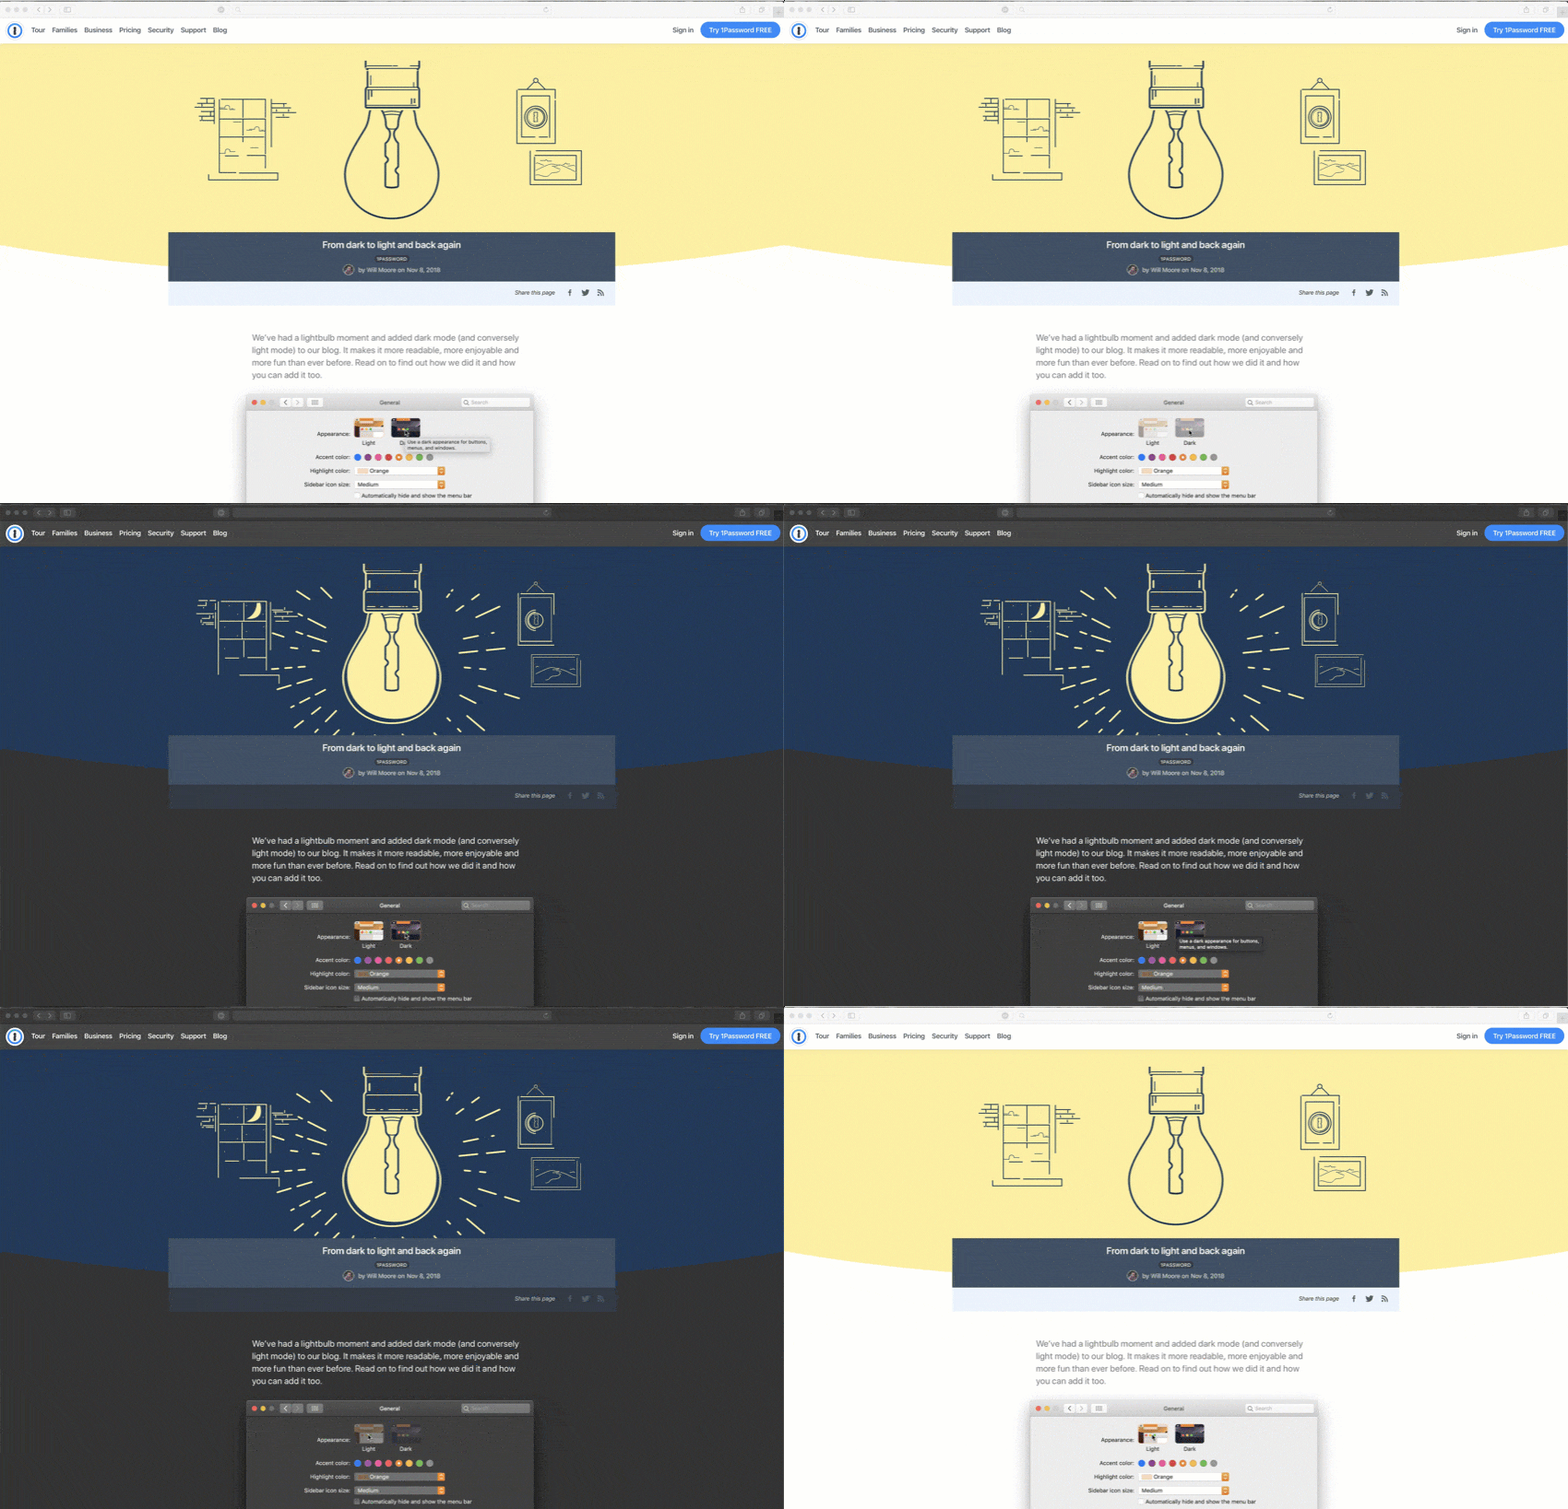
We’ve had a lightbulb moment and added Dark Mode to our blog. It makes it more readable, more enjoyable, and more fun than ever before. Read on to find out how we did it and how you can add it to your own website.
Dark Mode in Mojave is great for apps, but until now websites didn’t have a way to participate in the fun. Apple just gave us a gift with their latest update to Safari Technology Preview, and we’ve been having fun exploring the new possibilities.
Welcome to the dark side 🌗
Today I’m happy to say that the 1Password blog is now 100% compatible with Dark Mode, and the experience is fantastic. 🎉

Although the Safari app itself has supported Dark Mode ever since macOS Mojave debuted, websites had no way to know when their content was being presented in Dark Mode. You saw the same color scheme on each website, no matter which mode your Mac was in.
Safari Technology Preview 68 changed this by adding support for the prefers-color-scheme media query. It’s exactly what websites need to support Dark Mode. Images appear brighter and more vivid, and reading one of Jeff Goldberg’s security lessons is easier on the eyes by far. 👀
Right now, Dark Mode is only available on macOS Mojave, but because the media query is part of WebKit, we’re hopeful that it will come to other platforms in time. To check it out yourself, install Safari Technology Preview, or just sit tight. This new feature will be available in Safari proper sometime soon. If you do install Safari Technology Preview, switch to Dark Mode while viewing this blog post for an extra visual treat.

Add support for Dark Mode to your site
Although Apple gives you the basic information you need to add support for Dark Mode to your site, it’s not a complete picture. So we wanted to share how we did it. Feel free to use any of the code snippets below.
At a basic level, Dark Mode can be accessed through a CSS media query:
@media screen and (prefers-color-scheme: dark) {}
We then decided to convert this into a Sass mixin to make things a little neater:
@mixin dark-mode($background: null, $color: null) {
    @media screen and (prefers-color-scheme: dark) {
        @if ($background != null and $color != null) {
            background-color: $background;
            color: $color;
        }
        @else if ($background != null and $color == null) {
            background-color: $background;
        }
        @else if ($color != null and $background == null) {
            color: $color;
        }
        @else {
            @content;
        }
    }
}
Because we were mainly changing background color and font color, we thought it made sense to have these as variables to pass in on a single line to the mixin. This works in an “and/or” manner, but it also works if neither are passed in. This allows us to set any CSS properties we need to. The different ways to call the mixin are like so:
@include dark-mode($background: #000, $color: #fff);
@include dark-mode($color: #fff);
@include dark-mode($background: #000);
@include dark-mode() {
    background-color: #000;
    opacity: 0.5;
    border: 1px solid #fff;
}
We’d love to hear from you to find out if the above was helpful to you. If you make use of any of the code snippets and want to show off, ping @1Password on Twitter. Cheers! 👋

 by Will Moore on


Tweet about this post